PNG to STL, Free and Private
Extrude a logo, icon or name from a PNG, or turn any PNG into a height-map relief. Set the size in mm and download a printable STL.
Step by step: logo PNG to keychain or sign
- Start with a PNG that has a transparent background, at least 800 pixels wide. Icons exported from design tools usually already have one.
- Choose stamp/logo extrusion. If the PNG has no transparency, move the threshold until the preview shows only the shapes you want.
- Set the width in mm, for example 50 mm for a keychain or 150 mm for a door sign. Set extrusion height (2 to 3 mm) and, if you want a backing plate, a base of 1.5 to 2 mm.
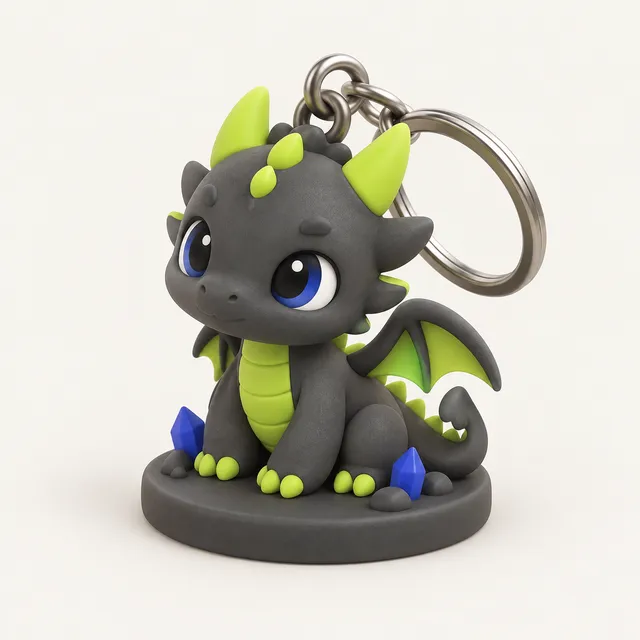
- For a keychain, enable the tag option to add a ring hole. Download the STL and check the size in the free viewer.
Getting clean edges from a PNG
Pixel images have stair-stepped edges. At 50 mm wide, an 800-pixel image gives about 16 pixels per millimetre, which is finer than any FDM printer can show, so steps disappear. A 200-pixel icon stretched to 100 mm gives 2 pixels per mm and the steps will be visible.
Smoothing softens jagged edges and JPEG-style noise. Anti-aliased edges in the PNG create semi-transparent pixels; the threshold decides whether they count as solid. If a logo has thin lines, check that they are at least 0.8 mm wide at your chosen size, or they will vanish in the slicer. If you have the logo as SVG, use that instead: vector paths give perfectly smooth outlines.
Two-colour prints from a PNG logo
A popular use is a flat sign or keychain with a coloured logo on a contrasting base. Export the logo with a base, then in Bambu Studio, OrcaSlicer or PrusaSlicer add a filament change (colour change) at the first layer above the base. In Cura the same is done with the Filament Change post-processing script at that layer height.
With a base of 2 mm at 0.2 mm layers, the change goes at layer 11. Printers with automatic material systems can do this without you standing by. Print flat, with the back on the bed, and no supports are needed.
Relief mode for photos saved as PNG
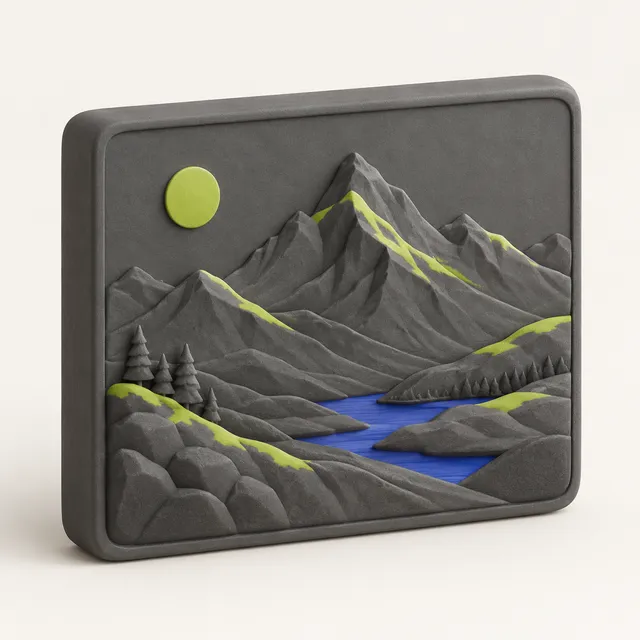
If your PNG is a photo, extrusion will give a noisy, blotchy outline. Use relief instead: bright areas rise, dark areas stay low. It works for textures, embossed plaques and terrain height maps saved as greyscale PNGs, where each grey level maps to a height.
For height maps, a larger maximum thickness exaggerates terrain; 5 to 10 mm over a 150 mm tile is usually readable. Print reliefs with 0.12 mm layers so gentle slopes do not turn into visible steps. If you want the photo to show when held up to light, the lithophane maker is the better choice.
Frequently asked questions
Does PNG transparency carry over to the STL?
Yes. Transparent pixels become empty space and opaque pixels become solid, so a logo on a transparent background extrudes as just the logo, with no rectangle around it. If you add a base, the base covers the full area under the shape.
What resolution should my PNG be?
Aim for at least 10 pixels per millimetre of the final print. For a 50 mm keychain that means 500 pixels wide; for a 150 mm sign, 1500 pixels. Higher resolution adds triangles without visible benefit beyond that.
Is my PNG uploaded anywhere?
No. The conversion runs in your browser tab, and the STL is created on your device. You can confirm it in your browser's network panel. There is no account and no file is stored by us.
Can I make a cookie cutter from a PNG?
You can extrude the outline, but a cookie cutter needs a thin cutting wall rather than a filled shape. An SVG outline gives better control over that wall. For a simple stamp that presses a design into dough, a mirrored PNG extrusion works well.