Keychain Maker: Name, Photo or Logo to a 3D Printable Keychain
Type a name, choose a font and get a printable keychain with a keyring hole in seconds. Or drop a picture of your dog, a logo or a drawing instead.
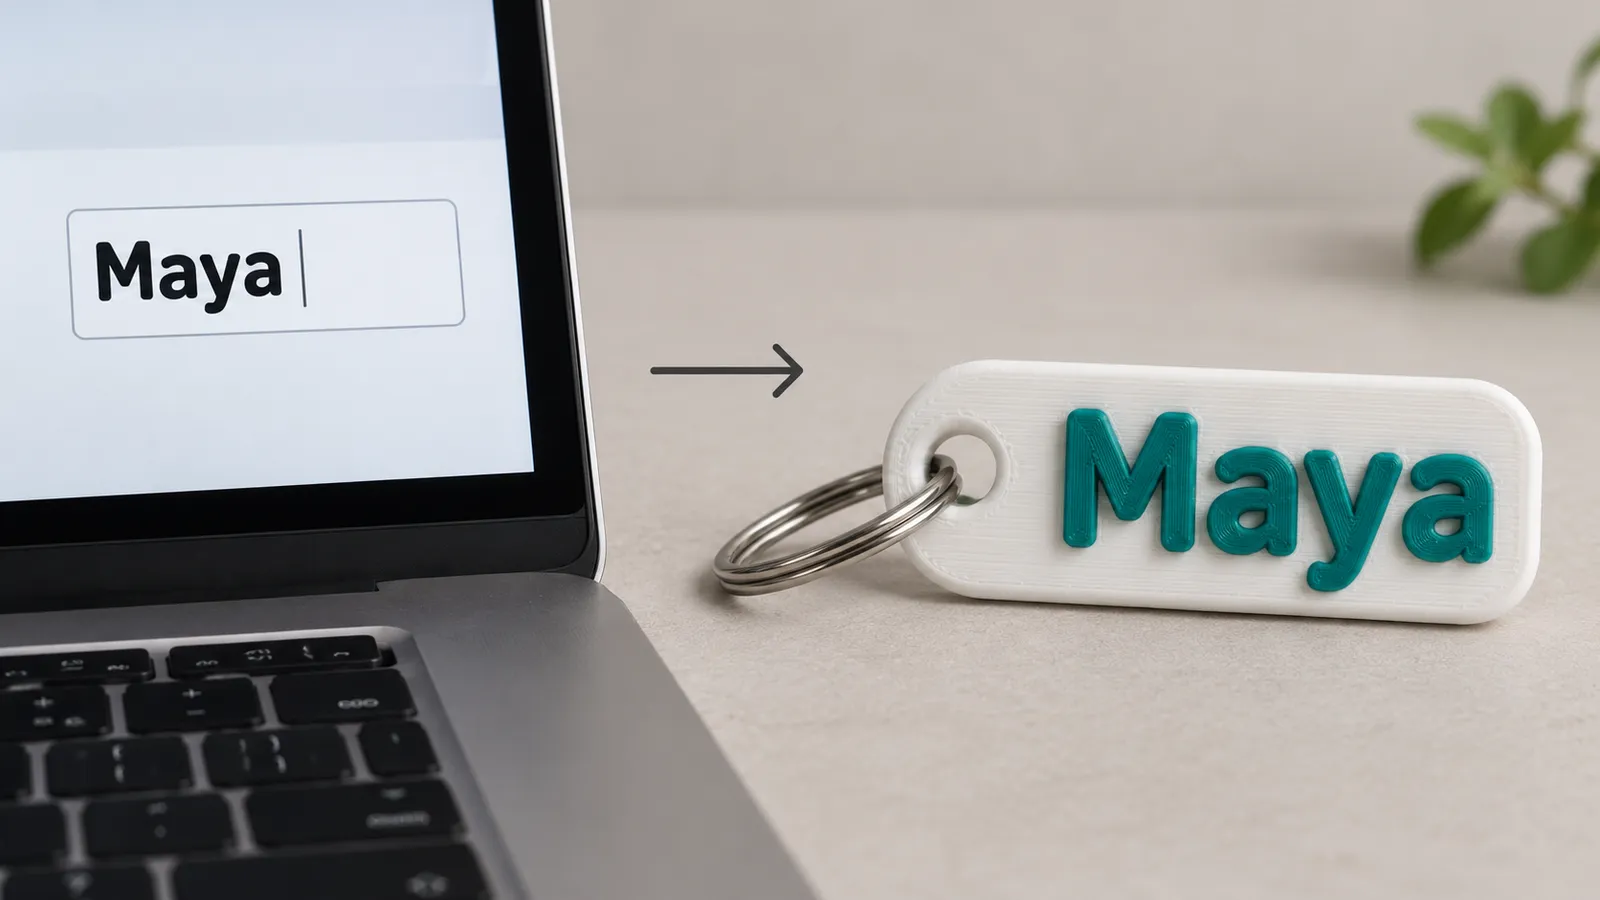
How to make a name keychain
- Type the name. Up to four short lines work; one word of 3 to 10 letters prints best.
- Pick a font. Rounded bold and Block capitals are the safest at small sizes; Script looks great at 60 mm and wider because the joined letters need room.
- Set the width. 50 to 70 mm is a normal keychain; the height follows the text.
- Keep the keyring hole at 4 to 5 mm on the left end, or move it to the top centre for a tall tag.
- Download the STL or 3MF and slice it flat on the bed.
The default plate is 2.4 mm thick with letters raised 1.2 mm, which survives daily use in a pocket. Thinner than 1.6 mm in total tends to snap at the hole.
Keychain from a photo, logo or drawing
Click “Use an image instead” and drop the file. A logo with a transparent or white background becomes a raised badge: the dark parts stand up from the plate, and the threshold slider decides where dark ends. Clean PNG and SVG files give the sharpest edges.
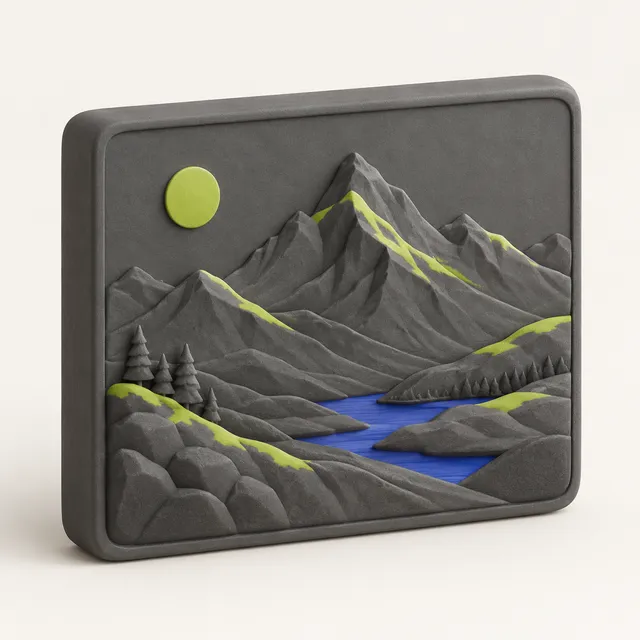
A photo of a pet or a person works best as a small relief tag with the circle or heart shape, because a relief shows the face through light and shadow. Crop tightly to the face first; at 50 mm wide a full-body photo leaves the face only a few millimetres tall. Children's drawings work well too: draw with a thick black marker on white paper, take a straight-on photo and use stamp mode.
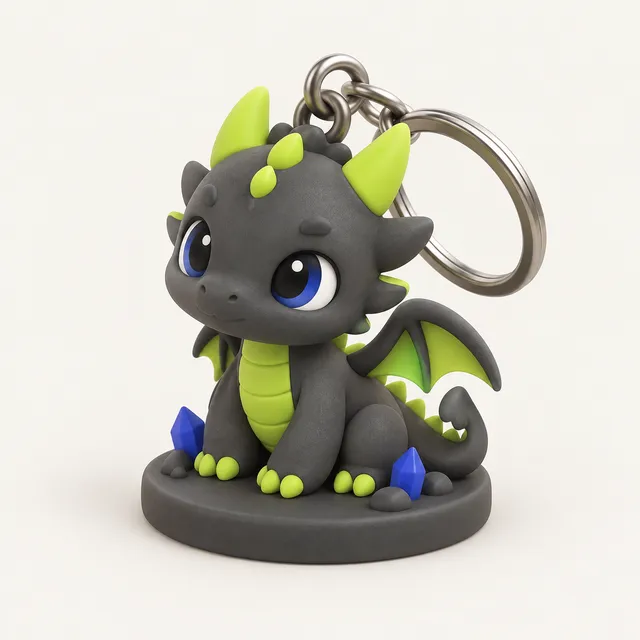
If you want a keychain that is a real 3D figure of your dog rather than a flat tag, the AI keychain template builds one from a photo.
Printing a two-colour keychain on one nozzle
Name keychains look best with letters in a second colour. You do not need a multi-material printer: the tool outputs one solid where the letters start exactly at the top of the base. In Bambu Studio or OrcaSlicer, right-click the layer slider at the first layer above the base height (2.4 mm by default) and add a colour change; in PrusaSlicer use “Add color change (M600)” on that layer; in Cura use the “Filament Change” post-processing script.
The printer pauses, you swap filament, and the letters print in the new colour. With an AMS or MMU you can paint the top layers instead. White base with black letters or black base with white letters gives the best contrast.
Sizes and settings that work
- Width 50–70 mm, total thickness 3–4 mm, letters raised 1–1.5 mm.
- Keyring hole 4–5 mm for a split ring, 3 mm for a jump ring or a lanyard cord.
- Layer height 0.16–0.2 mm; letters need at least 5 layers to read clearly.
- 3 walls and 20 % infill, or 100 % infill for a tag that will be bent and pulled.
- PLA is fine; PETG survives a hot car better.
A single 60 mm name tag uses about 4 to 6 grams of filament and prints in 20 to 30 minutes on most printers. The preview shows the exact estimate for your settings.
Frequently asked questions
Is the keychain maker free?
Yes. Text, logo and photo keychains are free, need no account and add no watermark. The model is built in your browser, so your photo or logo is never uploaded. Only the AI tool that makes a full 3D figure from a photo uses paid credits.
Which font is best for a 3D printed name keychain?
Bold, rounded letters with open counters, like the Rounded bold and Block capitals options. Thin serifs and hairlines disappear at keychain size. Script fonts look elegant but need a width of at least 60 mm so the joins between letters stay thicker than the nozzle.
Can I make a keychain from a picture of my dog?
Yes. Choose “Use an image instead”, drop the photo and use relief mode with the circle or heart shape and a 4 mm hole. Crop to the face first. For a standing 3D figure of the dog on a keyring instead of a flat tag, use the AI photo to 3D model tool with the Keychain template.
How do I make the letters a different colour?
Add a filament change in your slicer at the first layer above the base thickness, which is 2.4 mm by default. The base prints in the first colour, the raised letters in the second. This works on any single-nozzle printer.
Can I get a 3MF instead of an STL?
Yes. Both STL and 3MF download buttons are available. 3MF keeps the millimetre units and opens as a ready object in Bambu Studio and PrusaSlicer.