Photo to STL: Lithophane, Relief or a Full 3D Model
Turn a photo into a printable lithophane or relief for free, right here. Want a figure with a back and sides instead? Use the AI path.
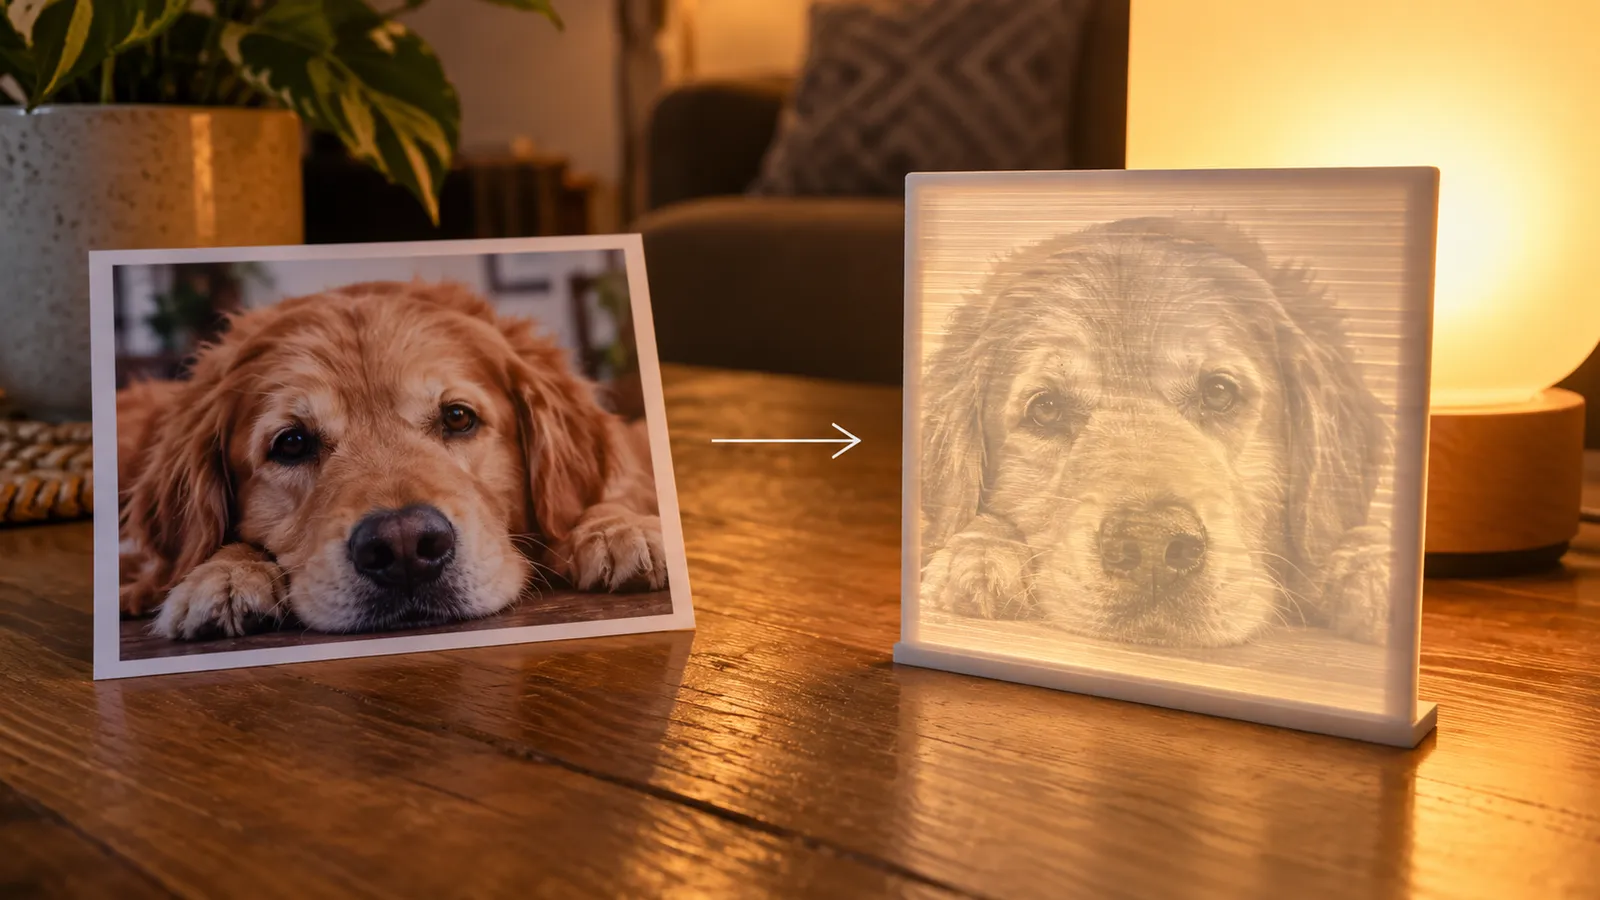
Lithophane or relief: what each photo needs
A lithophane is the best way to print a photo with real detail. Faces, pets and wedding photos show soft tones and fine features when lit from behind by a window, a candle light or an LED box. In normal light the print looks like a blank grey panel.
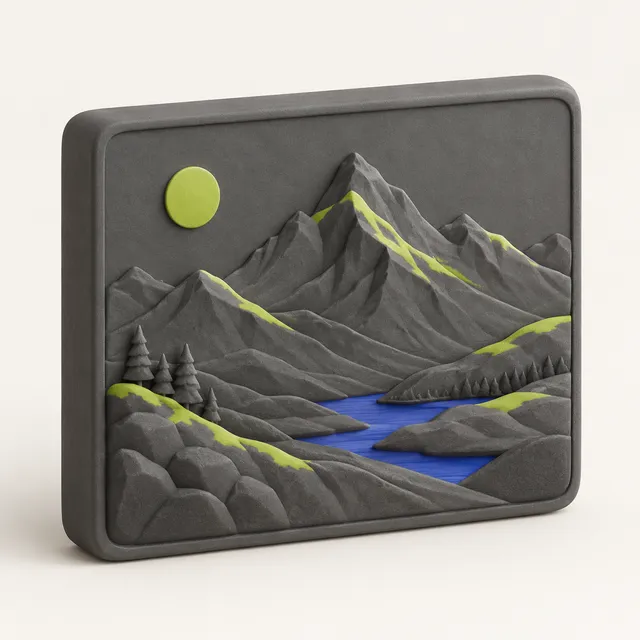
A relief is seen with light falling on it, so it relies on shadows. It suits high-contrast subjects, silhouettes, landscapes with a strong skyline and memorial plaques, but faces look less natural than in a lithophane.
If in doubt, try both: switching mode in the tool rebuilds the model in seconds with the same photo.
Preparing a photo for printing
- Crop tightly. At 100 mm wide, a face should fill at least a third of the frame.
- Raise contrast and brightness slightly; lithophanes compress tones and flat photos look washed out.
- Use the original photo, not a compressed copy from a messaging app.
- iPhone HEIC photos work directly.
- Remove busy backgrounds if you can; they compete with the subject in a lithophane.
The tool uses brightness only, so colour photos and black-and-white versions give the same model.
Print settings for photo lithophanes
Print lithophanes standing upright in white PLA, at 0.12 mm layer height or lower, with 100 % infill and slow outer walls. A thinnest point of 0.8 mm and thickest of 3.2 mm suit most LED lights; go to 4 mm for bright daylight windows. A 100 mm lithophane takes several hours; the preview shows the estimate. For reliefs, print flat with a 2 mm base, 3 mm depth and 0.12 mm layers so the gradients do not show steps.
Photo to a full 3D figure with AI
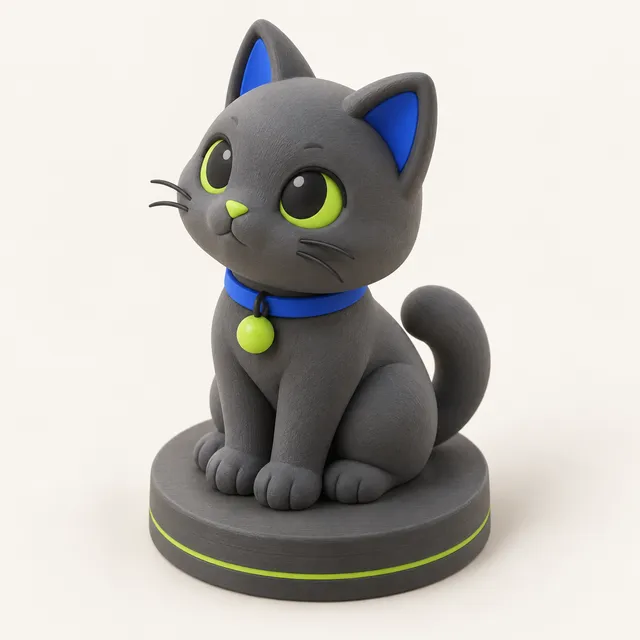
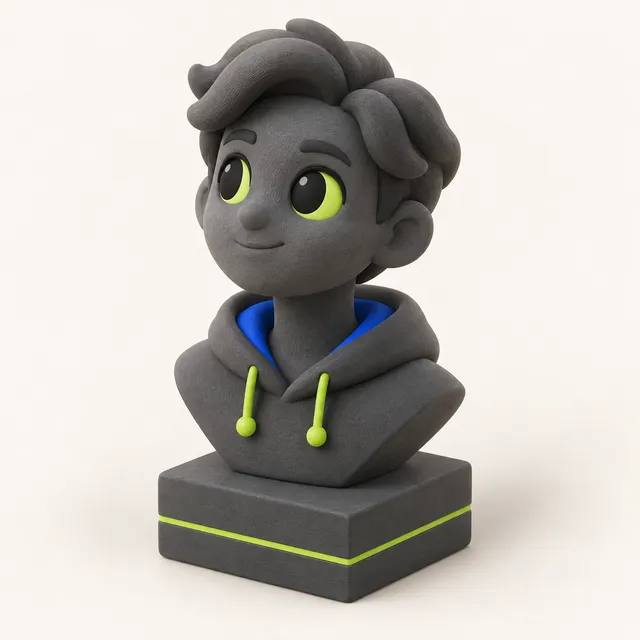
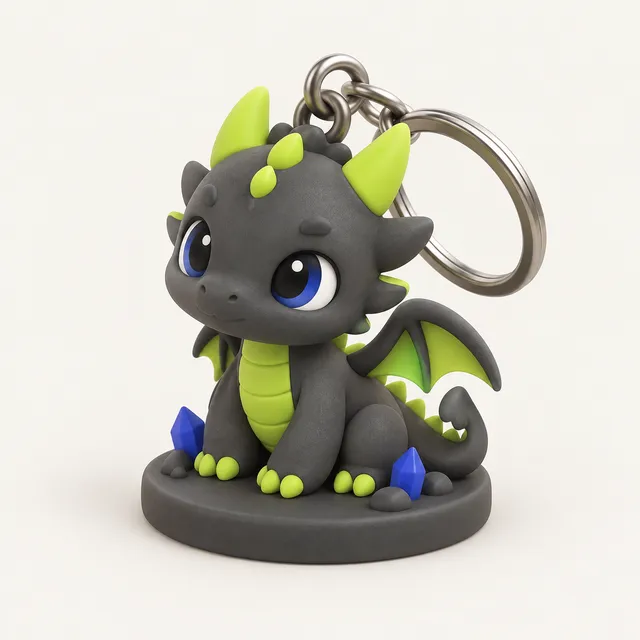
When you want to hold the subject, not look at a panel, use the AI path. Upload one clear photo (or up to four angles), pick Figurine, Bust, Keychain or Plain, enter the height and wait one to two minutes. The result is rebuilt as one watertight solid with a flat base and scaled to your height, ready for any slicer. The back and sides are the AI's best guess, so fine details like text or fingers may be simplified. Photos are not stored by MeshShift or used for training, and failed runs refund their credits automatically.
Frequently asked questions
How do I convert a photo to STL for free?
Drop the photo into the tool above, choose Lithophane or Relief, set the width in millimetres and click STL. It is free, has no watermark and runs in your browser, so the photo is never uploaded.
Can I turn a photo of a person into an STL?
Yes. A lithophane gives the most recognisable result for free. For a 3D bust or figure of a person, use the AI tool; you must have the right to use the photo, and public figures are not allowed.
What thickness should a photo lithophane be?
0.8 mm at the thinnest and 3 to 3.2 mm at the thickest is a good default for LED backlights. Thicker panels give more contrast in strong light but print slower.
Does the photo get uploaded?
Not for lithophanes or reliefs: those are built in your browser. Only the AI path sends the photo to the 3D model provider, and MeshShift discards it right after.
Can I make a curved photo lithophane for a lamp?
Yes. In Lithophane mode set Curve to between 90 and 180 degrees. The panel is bent into an arc that fits around a tea light or an LED puck.