JPG to STL: Photo Reliefs and Lithophanes
Turn a JPEG photo into a printable relief or a lithophane that glows when lit from behind. Free, in your browser, with sizes in millimetres.
Relief or lithophane: which do you want?
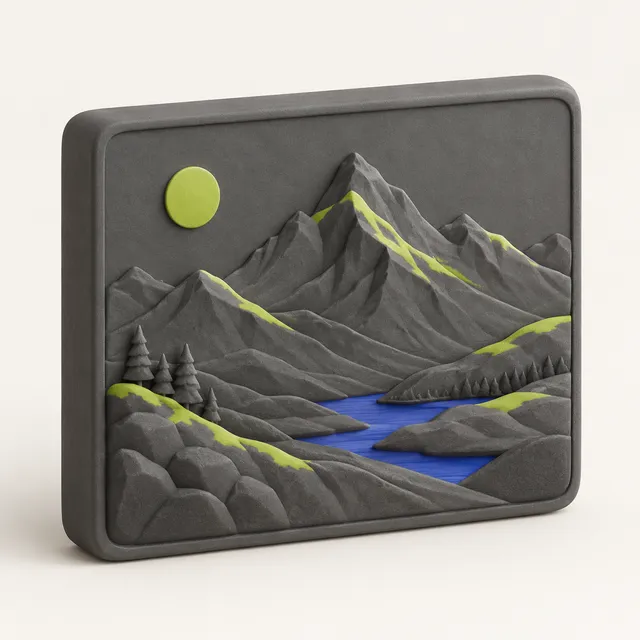
Choose a relief when the print will be seen with light falling on it, like a wall plaque, a coaster or a memorial tile. The shape is visible through shadows, so side lighting brings it out. High-contrast photos with simple subjects read best.
Choose a lithophane when the print will be lit from behind: a window hanging, a night light or a lamp shade. It looks like a grey blank in normal light and shows a detailed photo when backlit. Lithophanes reproduce faces and fine detail much better than reliefs. The dedicated lithophane maker adds shapes such as circle and heart, frames and a curved option.
Preparing the JPG
- Crop tightly to the subject and straighten the horizon before converting.
- Raise contrast slightly. Lithophanes compress the tonal range, so flat photos look washed out.
- Avoid heavily compressed JPGs from messaging apps; block artefacts print as a checkered texture. Use the original from your camera roll.
- Turn up smoothing for noisy night photos.
- For portraits, faces should fill at least a third of the frame or features become too small to resolve at 100 mm.
Colour does not matter: the converter uses brightness only, so a colour JPG and its greyscale version give the same STL.
Printing settings for JPG reliefs and lithophanes
Print lithophanes standing upright, so the detail is formed by the nozzle's fine vertical walls rather than layer steps. Use white PLA, 0.12 mm or lower layer height and 100 % infill, because any infill pattern shows through as a grid when lit. In Bambu Studio and OrcaSlicer set wall count high enough that the panel is solid walls; in Cura, set infill to 100 % and slow outer walls.
For reliefs, print flat on the bed with 0.12 mm layers and 15 % infill. A typical lithophane uses 0.8 mm minimum and 3 mm maximum thickness; a relief uses a 2 mm base with 3 mm of depth.
From a JPG to a real 3D model
A relief or lithophane always stays flat on the back. If the JPG shows a pet, a toy or a person and you want a figure you can stand on a shelf, the AI tool predicts the missing sides and builds a closed, printable solid with a base at the height you choose. It costs 10 credits per model, with one-time packs from $4.99 for four models and one free model when you sign in with Google. Your photo is never stored by MeshShift or used for training.
Frequently asked questions
Is JPG to STL the same as JPEG to STL?
Yes. JPG and JPEG are the same format with two file extensions. Both are accepted, along with PNG, WebP and SVG.
Why does my JPG relief look grainy?
JPEG compression and camera noise create small brightness changes that turn into tiny bumps. Increase smoothing in the converter, use the original high-quality photo rather than a compressed copy, and print at 0.12 mm layers or lower.
What size should a photo lithophane be?
100 to 150 mm wide is common. Smaller lithophanes lose detail in faces, larger ones take many hours to print standing up. At 100 mm wide with 0.12 mm layers, expect a print time of several hours on most FDM printers.
Do I need an account to convert JPG to STL?
No. The image tools are free and run without an account. Your photo stays on your device because the STL is generated in your browser.