Logo to STL: Raised 3D Logos From PNG or SVG
Drop your logo and get a raised badge, a sign, a stamp or a cookie cutter in the same outline. SVG paths stay crisp; PNG works too.
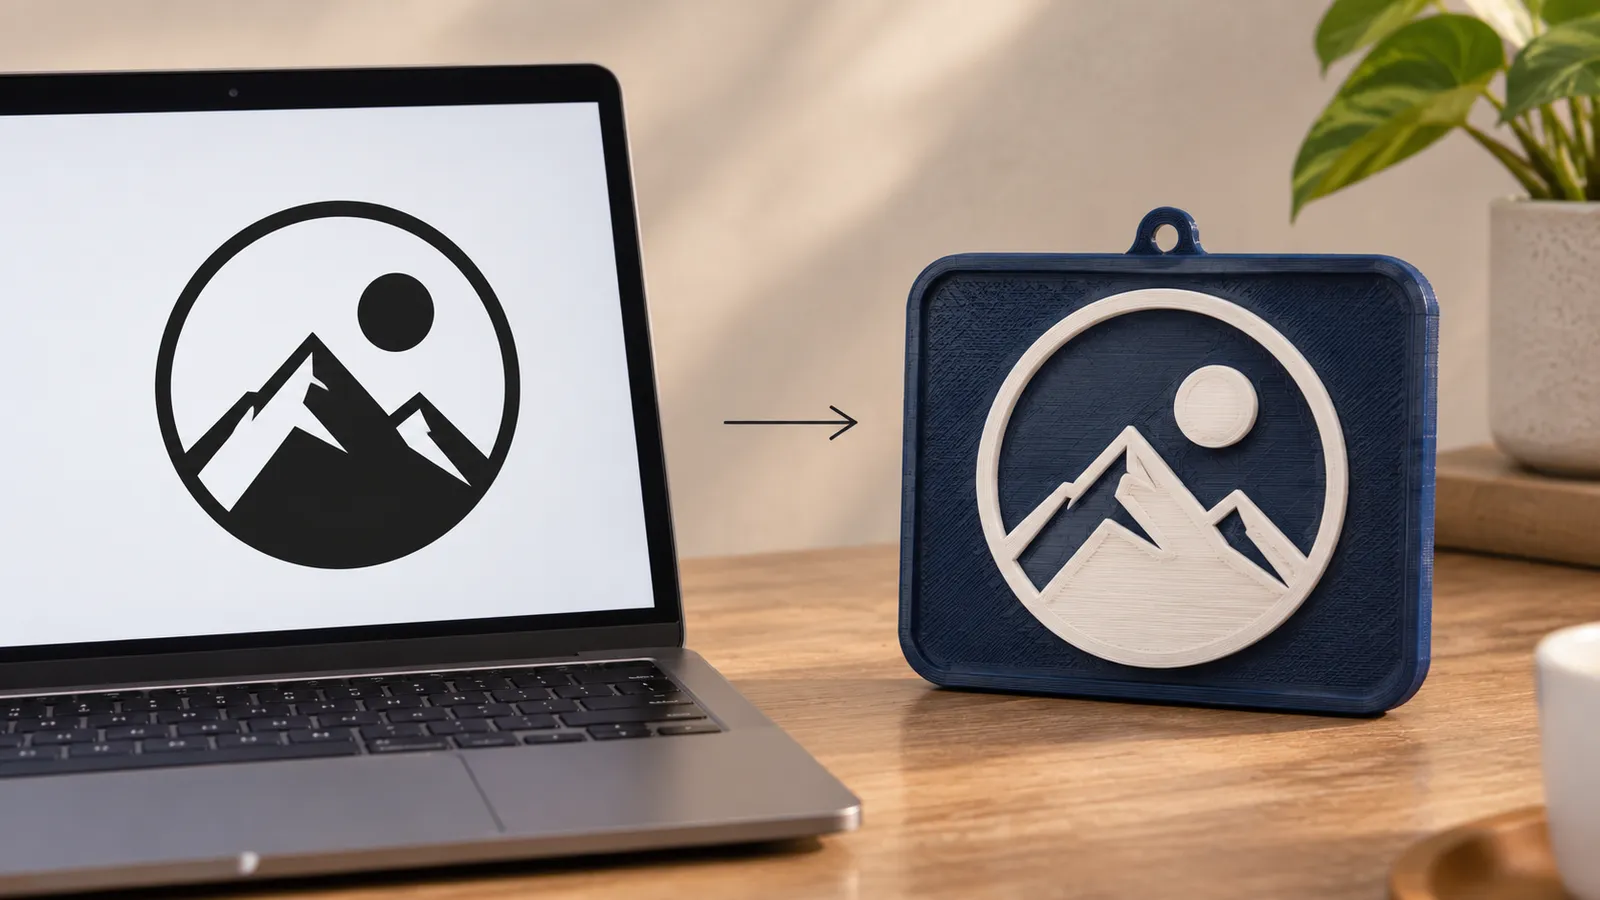
Best file for a 3D printed logo
SVG is the best source: the paths are rendered at high resolution, so curves and small lettering stay clean. A PNG with a transparent background is next best; export it at 1000 px wide or more. JPG works if the logo is dark on a plain white background, but compression noise around edges can create fuzz, which the smoothing slider reduces.
If the logo is light on a dark background, turn on Invert. If it has several colours, export a one-colour black version first: the tool uses brightness, so mid-tone colours may land on the wrong side of the threshold.
Signs, badges, coasters and stamps
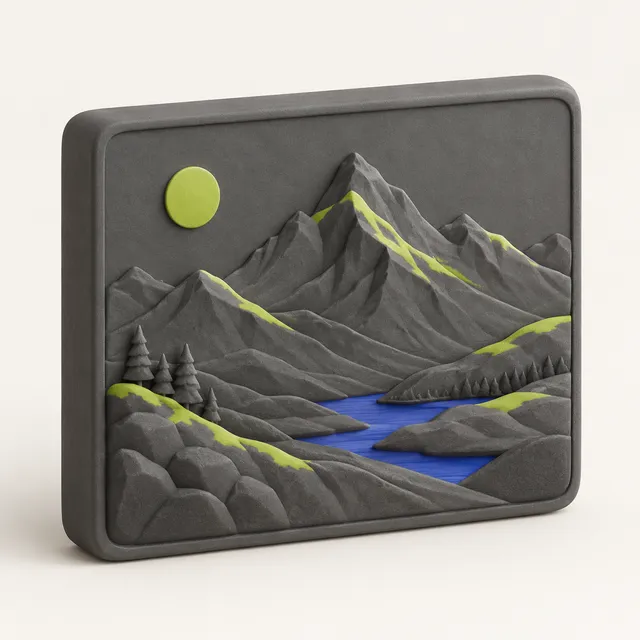
- Wall sign: 150–250 mm wide, 3 mm plate, logo raised 2–3 mm, 2 mm frame, 4 mm hanging hole at the top.
- Badge or keychain: 40–60 mm, rounded or circle shape, 4 mm hole; see the keychain maker for name tags.
- Coaster: 90–100 mm circle, 3 mm base, logo raised 0.8–1.2 mm so cups stand flat.
- Ink or wax stamp: mirror on, logo raised 2 mm or more, no frame.
- Cookie cutter: switch mode, 15 mm high, 0.9 mm blade.
Keep the thinnest line of the logo at least 0.8 mm wide at the chosen size, or it will not print on a 0.4 mm nozzle.
Printing a two-colour logo
The logo starts exactly at the top of the plate, so a filament change at that height prints the plate in one colour and the logo in another on any single-nozzle printer. In Bambu Studio or OrcaSlicer, right-click the layer slider at the first layer above the plate thickness and choose “Add color change”; in PrusaSlicer add an M600; in Cura use the Filament Change script. With an AMS or MMU, paint the top layers in a second colour instead. Brand colours that are close in brightness need this approach, because the converter itself does not separate colours.
Logo to 3D model with depth
Stamp mode gives a logo with straight vertical sides, which is what most brand signage and badges look like. For a bevelled or rounded logo, use Relief mode on a soft-edged version: brightness becomes height, so a blurred logo gives a domed result. For a fully 3D mascot or character from a brand image, the AI tool builds a figure from a picture; that is paid, with the first model free and packs from $1.99.
Frequently asked questions
How do I turn a logo into an STL file?
Drop the logo into the tool, keep Stamp mode, adjust the threshold until the shape is solid, set the width and height in millimetres and click STL. SVG and transparent PNG files give the cleanest edges.
Can I convert an SVG logo to STL?
Yes. SVG logos are rendered at high resolution and extruded, which keeps curves and small text crisp. The SVG to STL page covers vector files in more detail.
Is my logo uploaded anywhere?
No. The STL is generated in your browser, so the logo file never leaves your device. That makes it safe for unreleased brand assets and client work.
Why is part of my logo missing in the STL?
The missing part is lighter than the threshold. Move the threshold slider up, or export a solid black version of the logo. Thin lines under about 0.8 mm at the chosen size are also dropped by most slicers.
Can I print a logo in two colours?
Yes, with a filament change at the layer where the logo starts, which is the plate thickness you set. On AMS or MMU printers you can paint the logo's top layers instead.